Hyperlink on Email
You can also use an Email address as a hyperlink URL for various columns in all table-type charts. For this, you can
- Select a dataset containing the email address(es) associated with each row.
- Create a Calculated Column containing email address(es). In this case, the same email address(es) gets hyperlinked to all the values in that column.
Scenario 1:
Consider a dataset containing two email address columns associated with each row.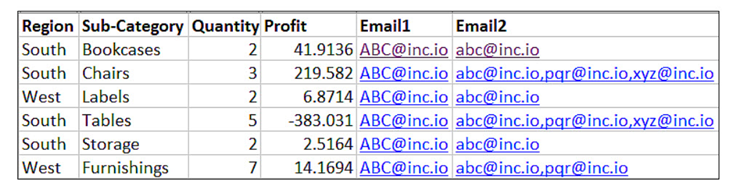
You can have,
- The same email address associated with all rows
- Different email addresses associated with different rows
- Multiple email addresses associated with each row
To hyperlink Email(s) to a column, first plot a Table chart using columns from the dataset. The figure below shows a Table Chart plotted using the columns Region, Sub-Category, Quantity, and Profit.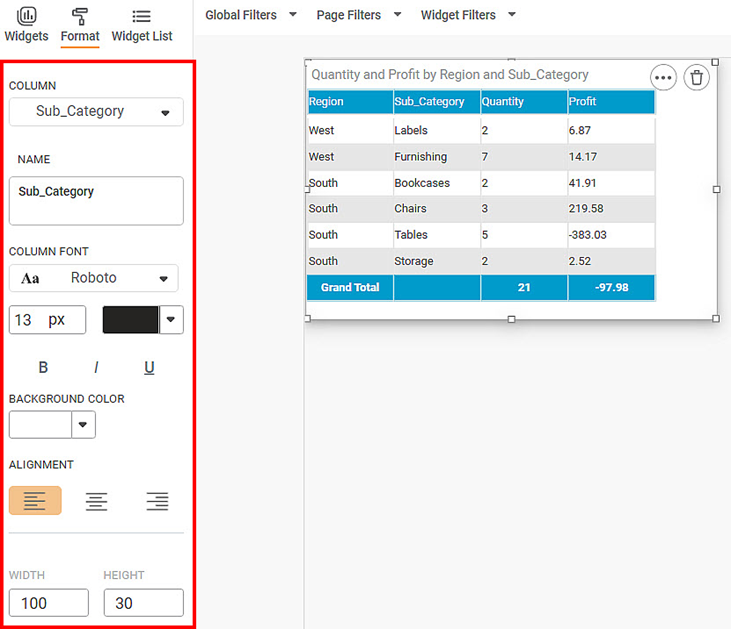
Now to hyperlink the Email Column to the Sub-category column,
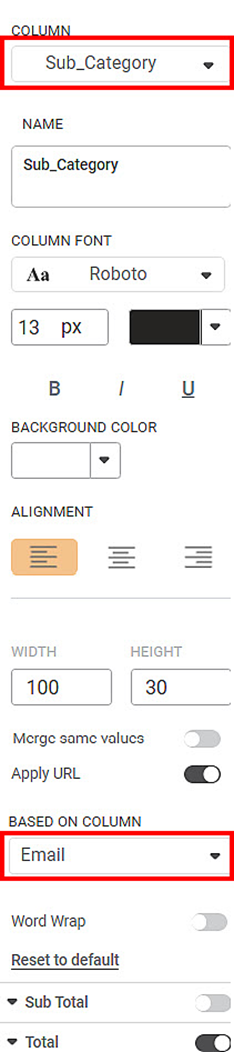
- Under Format, in the Column option, select the Sub-Category column.
- Switch on the Apply URL toggle button.
- From the BASED ON COLUMN dropdown, select Email.
You can see that,
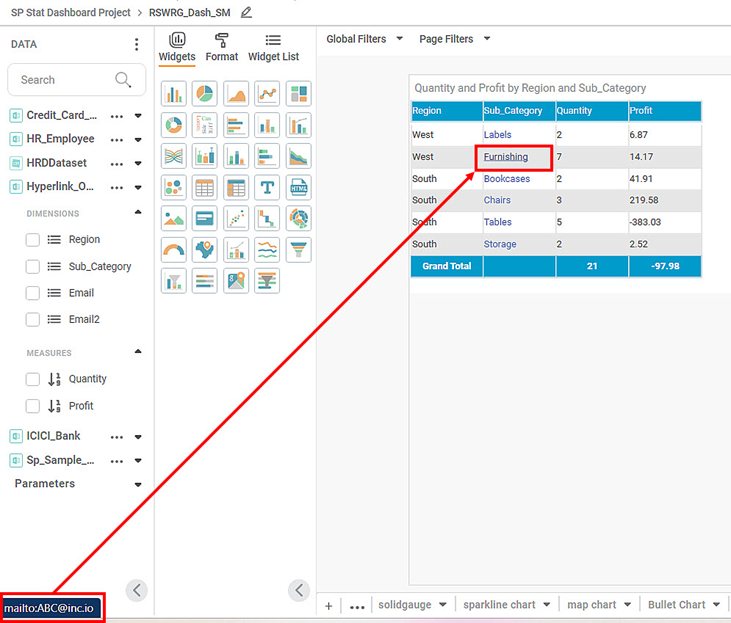
- Each value in the Sub-Category column gets hyperlinked with the corresponding email address(es).
- If you hover over any of the values, you see the hyperlinked email addresses in the bottom-left corner of the dashboard. For example, we hover over Furnishings and notice that two email addresses associated with it are displayed.
- If you click on the value, a Compose Email page opens in your default email service provider's account, with the email addresses mentioned in the recipient's (To) field. You may be asked to select the email service provider in some cases.
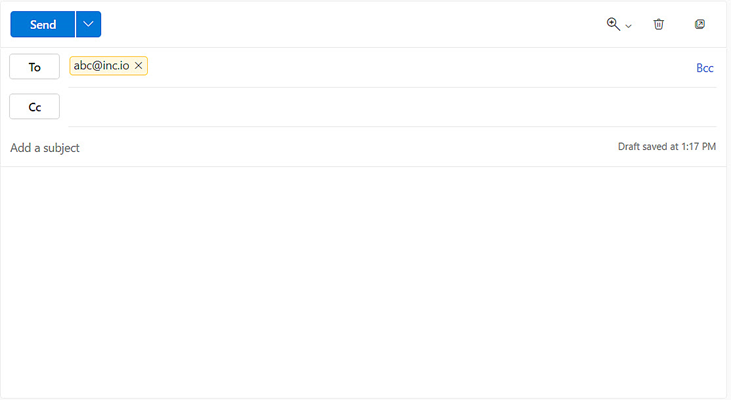
Now, you can use this link to send emails to the concerned recipient(s).
Scenario 2:
We create a calculated column Email_CalC and add an email address abc@inc.io using the Constant operator.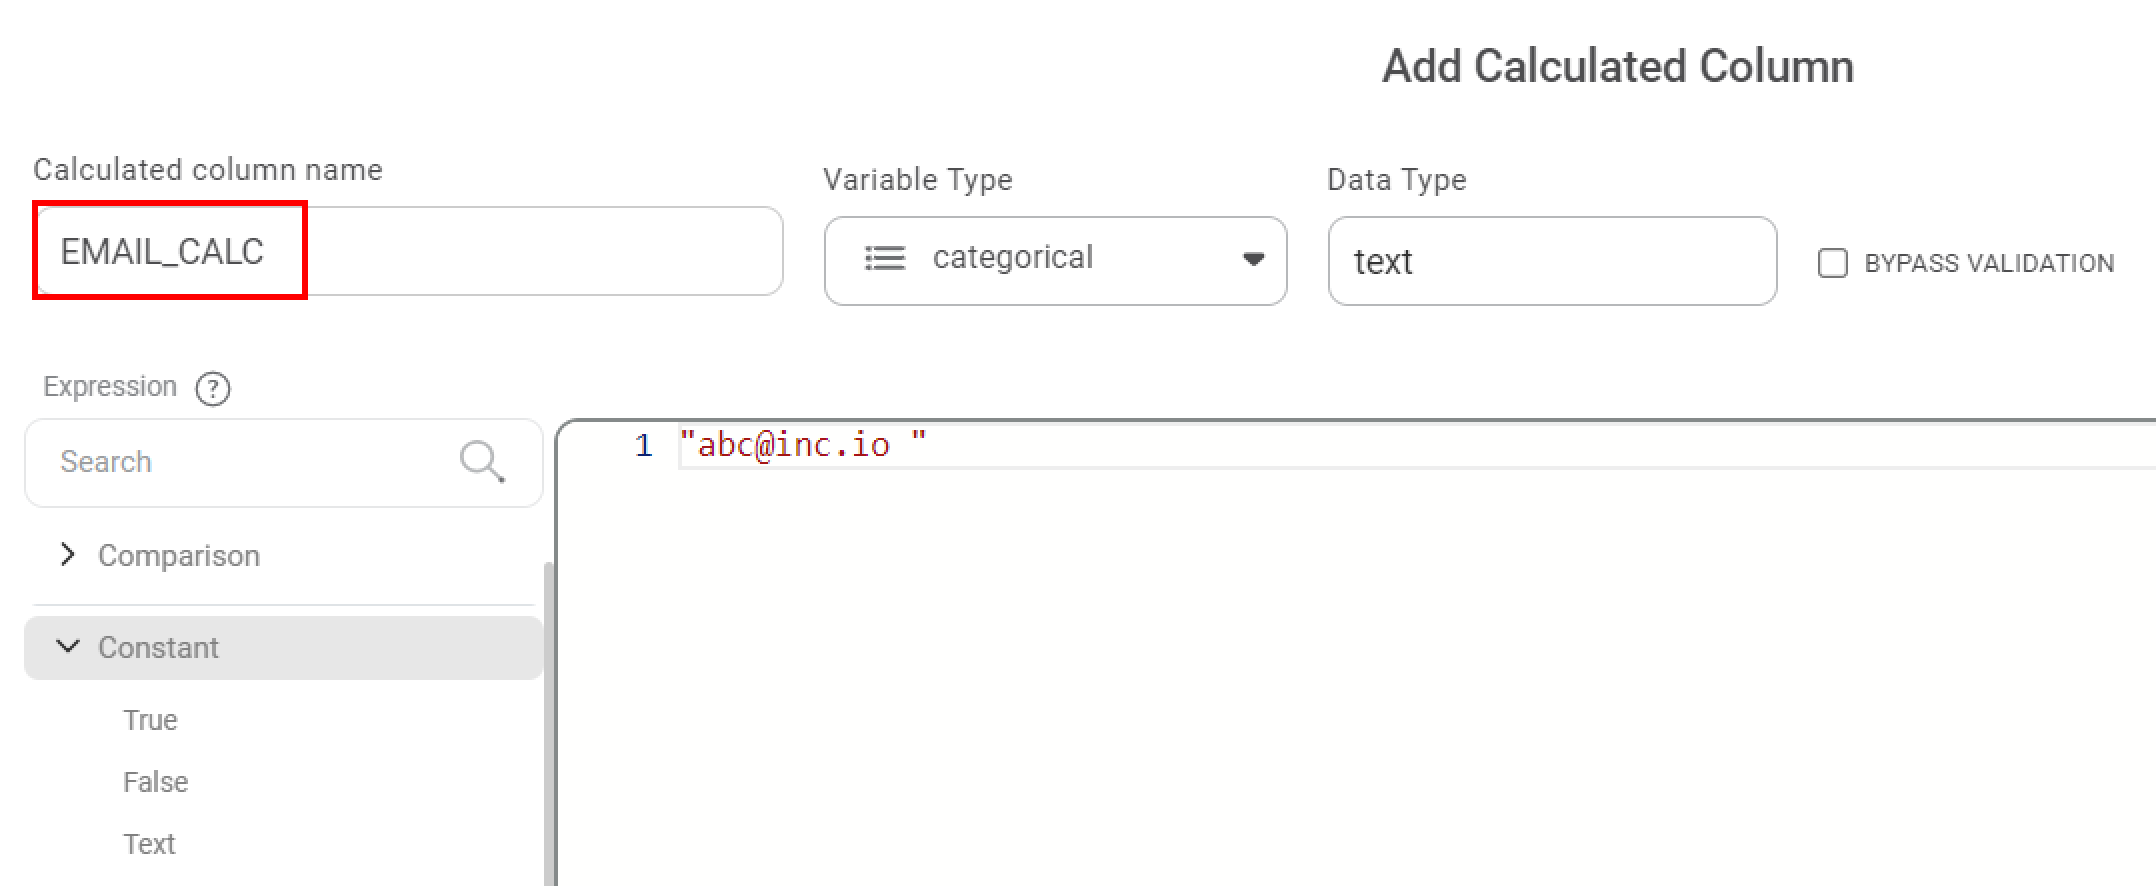
Next, as explained above, we hyperlink the Region column with the Email_CalC column.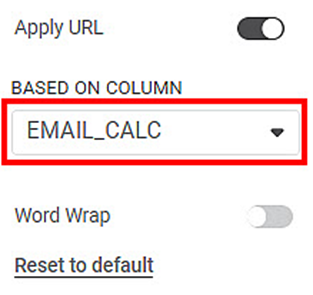
If you hover over any value in the Region column, you see the same email address displayed in the bottom-left corner. Thus, each value in the Region column is linked to the same email address.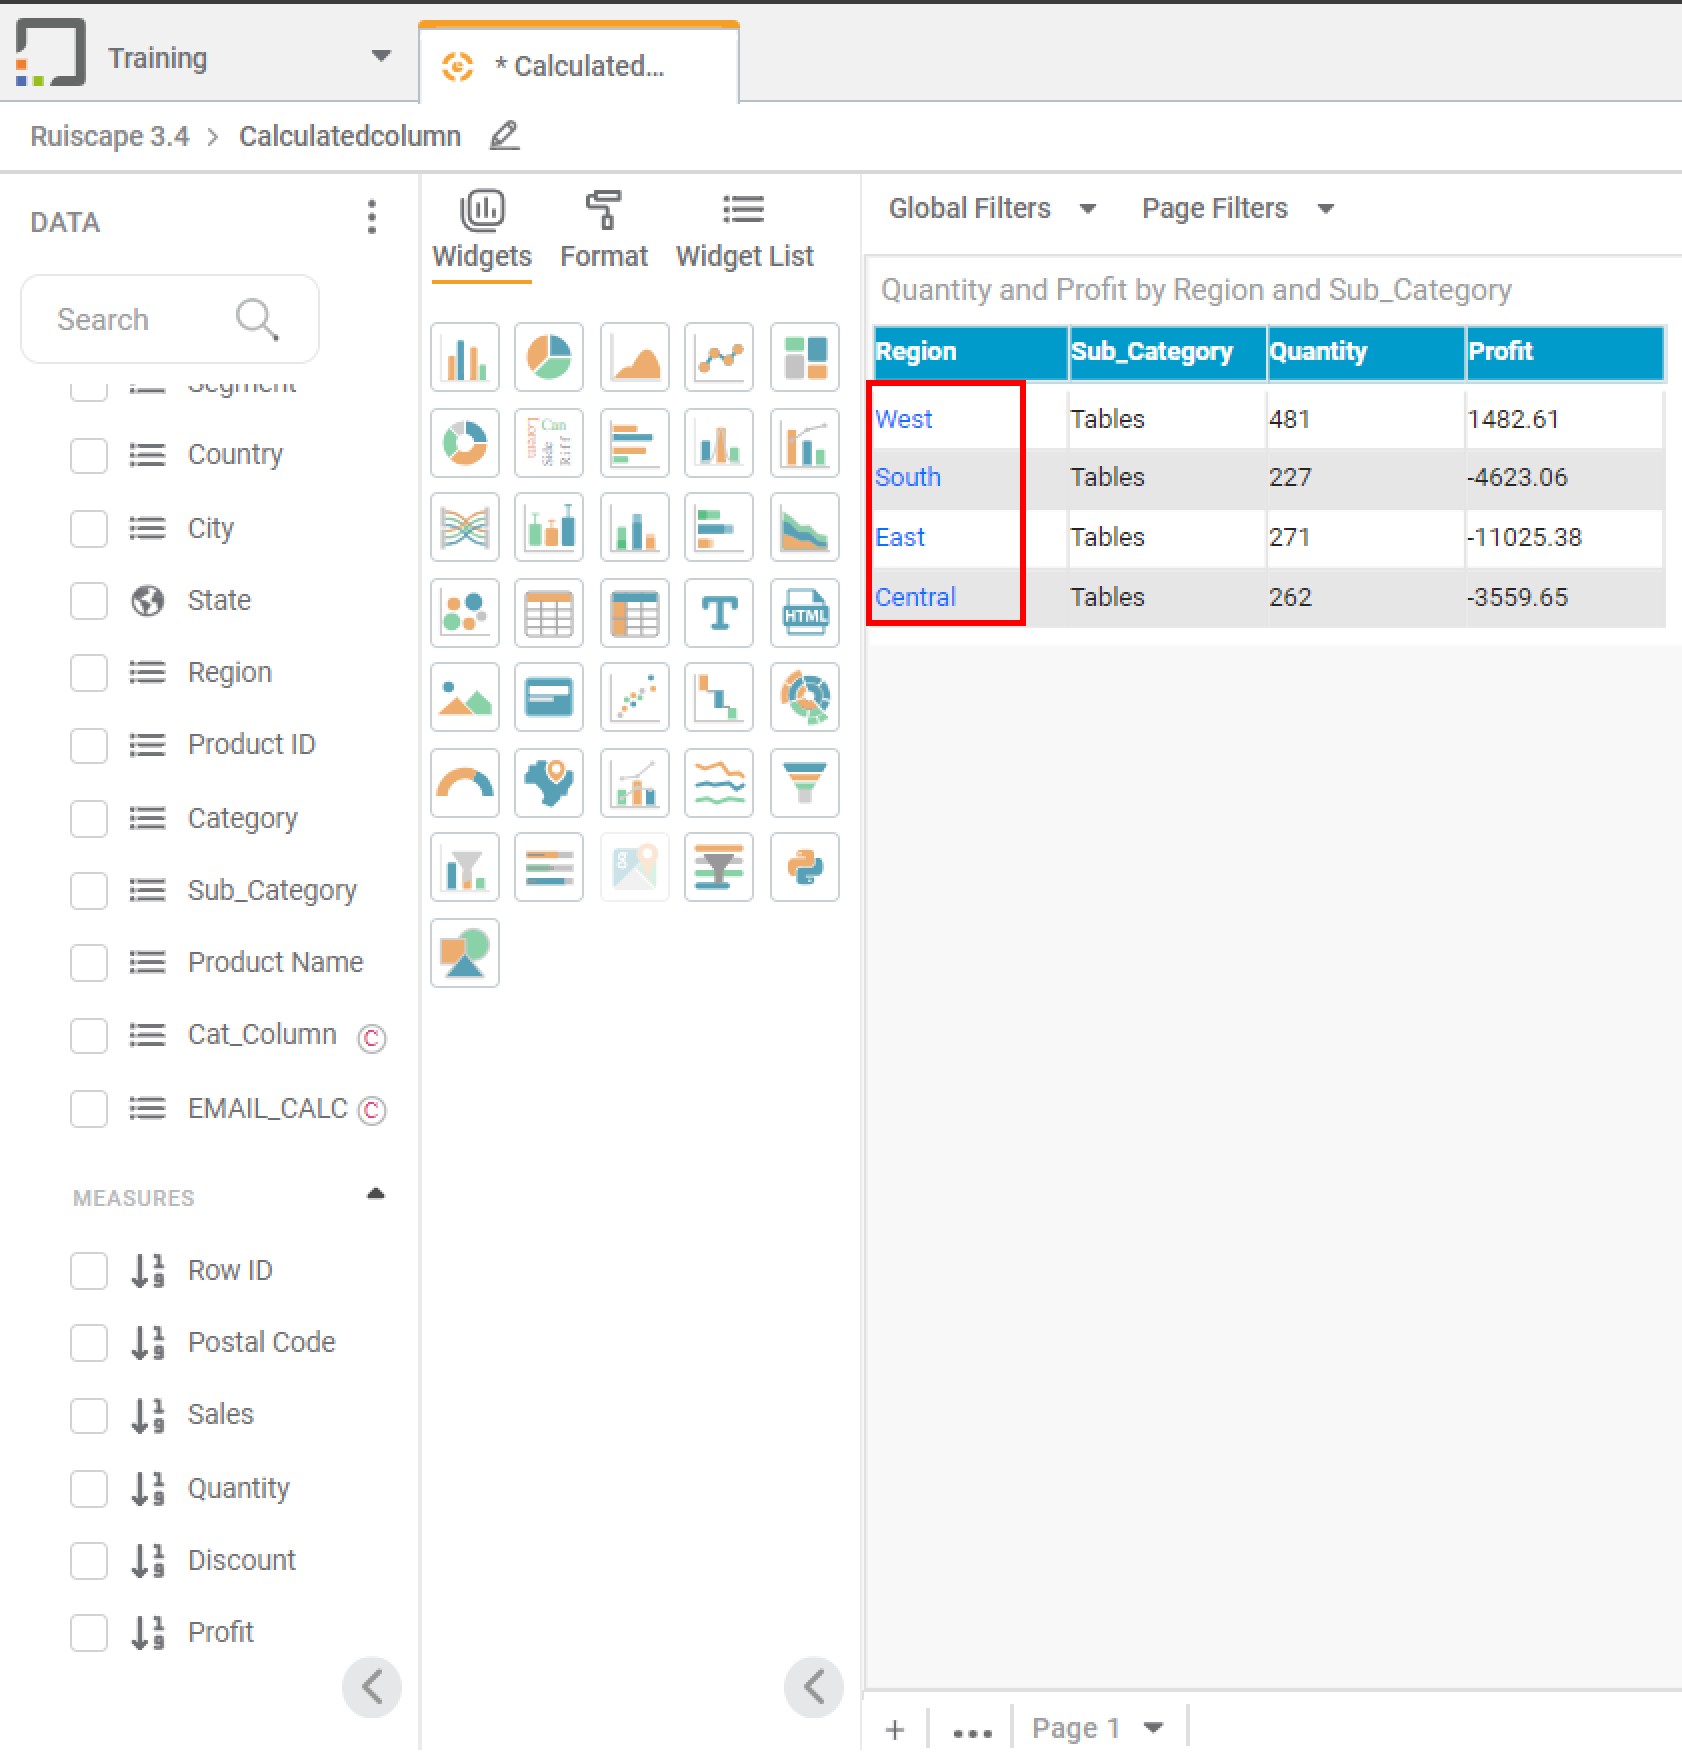
Now, you can use this link to send emails to the concerned recipient(s).
Note: | After navigating back to the Rubiscape application from the email application, you remain on the same page of the dashboard from which you navigated to the email application. |
Related Articles
Export to PDF/PPT using Dashboard Schedule
In RubiSight, you can export a dashboard using the Export functionality. Refer to Exporting a Dashboard. You can not only schedule this export, but also send the dashboard pages as PDF via email, at a stipulated date and time. Notes: You can schedule ...Access Modes of Dashboard and Navigate Page or Filtering based on URL (Hyperlink)
When a Dashboard is published, all its pages are published by default in the same sequence they were created. When the Dashboard is published, you can create a Dashboard Link, which can be shared with business users. When the business users click the ...Show Hide Page in Rubisight Dashboard
1. Overview • The Show / Hide Page feature allows users to control page visibility within a dashboard. • This is useful for restricting access, staging content, or simplifying navigation. 2. Default Behavior • All newly created dashboard pages ...Passwordless (OTP based) Authentication for Rubiscape Login
Overview: OTP (One-Time Password) authentication allows you to sign in securely using a 6-digit OTP sent to your registered email address. This method does not require entering a password and provides a quick and secure login option. Accessing the ...Workflow : Workbench : Approve
1. Introduction The Approve node in the Workflow module is designed to support approval-driven governance flows. It pauses workflow execution until the assigned approver reviews the selected dashboard and chooses Approve, Reject, or Investigate. The ...