JSON
Rubiscape supports JSON files (.json) for dataset creation.
To create a JSON dataset, follow the steps given below.
- On the home page, click Create icon .
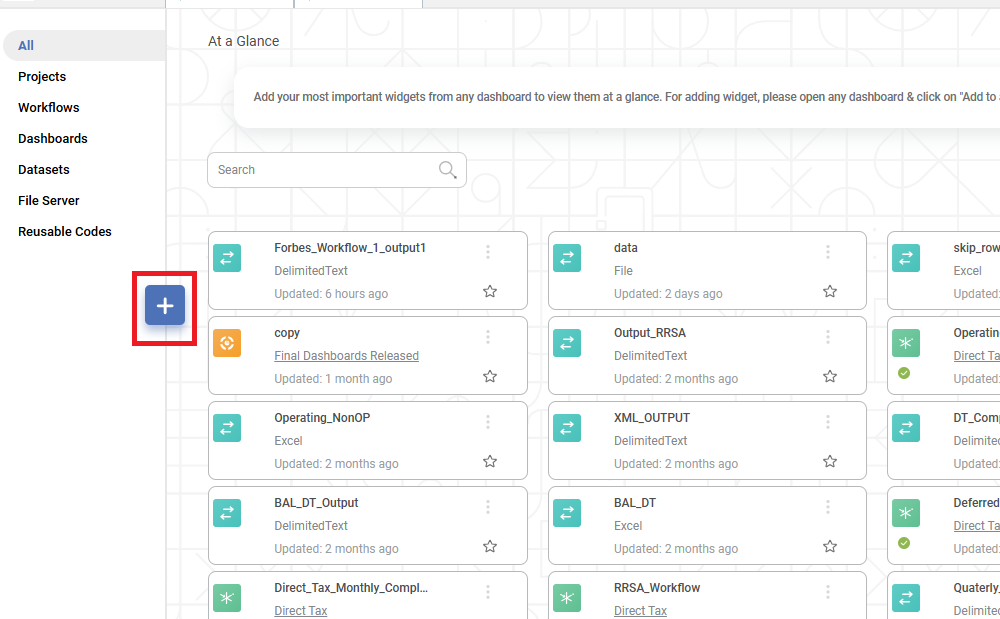
Product Selection page is displayed. - Hover over the Data Connect tile and click Create Dataset.
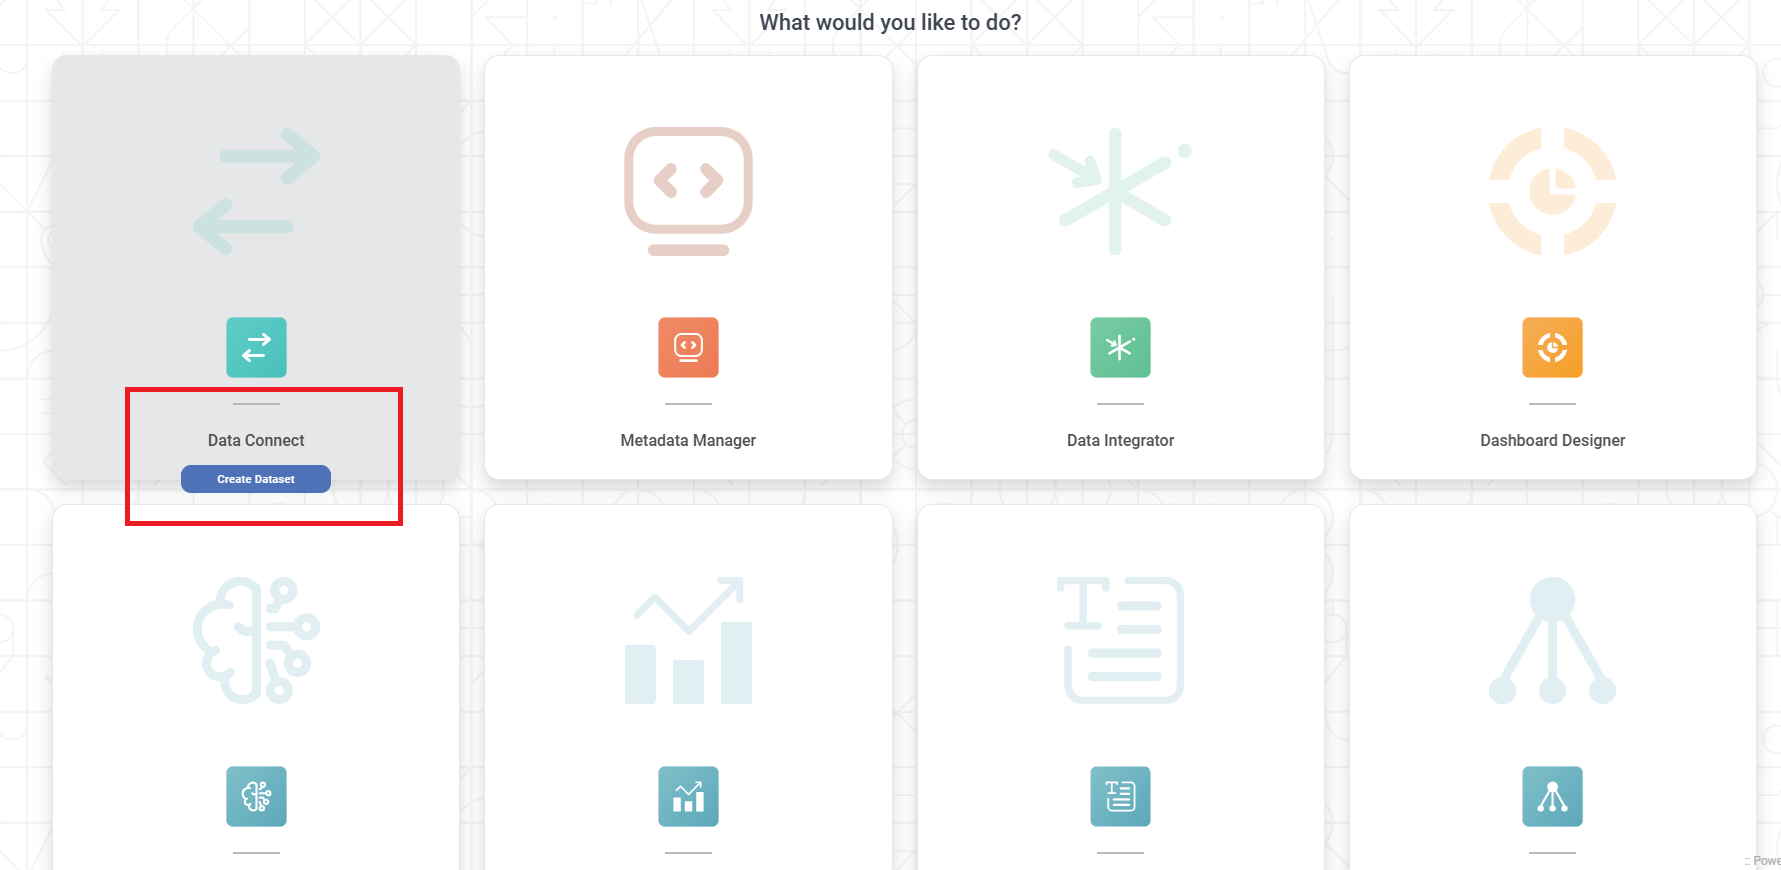
Dataset Selection page is displayed.
- From the File option, select JSON.
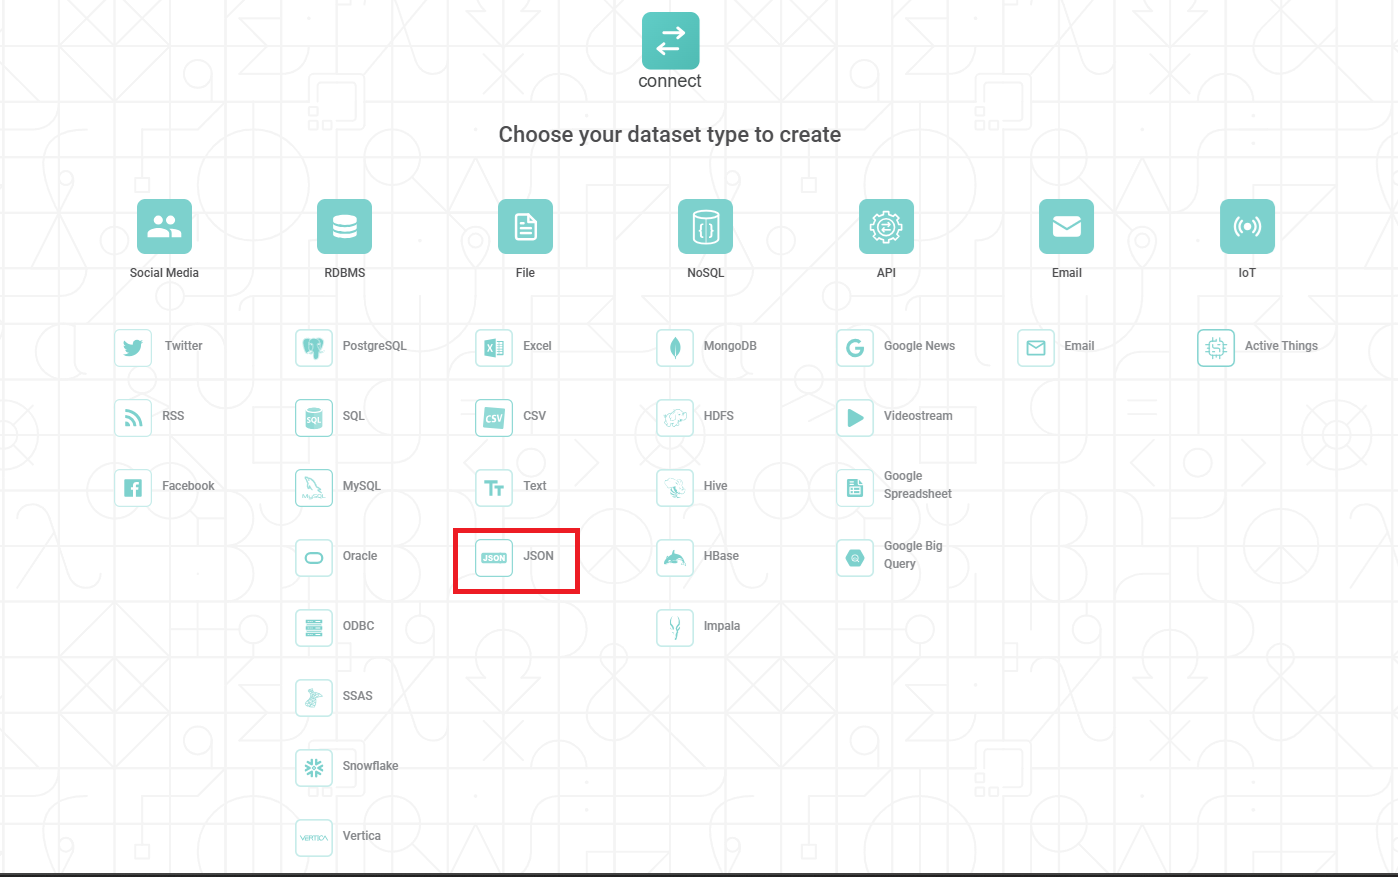
Create JSON Dataset page is displayed - Enter Name for your dataset.
- If required, enter a Description for the dataset. This field is not mandatory, so this step is optional.
Upload a JSON file either from your computer OR from AWS storage.
The table below describes the steps.Upload JSON from Your Computer
Select JSON from AWS S3 Storage
a. Select the Upload JSON File radio button
b. Click Browse.
The File Browser window is displayed.
c. Browse to your file location and select the required JSON file.
a. Select the S3 radio button.
b. Enter Bucket Name.
c. Enter Aws access key id.
d. Enter Aws secret access key.
e. Enter File URL.
f. To verify the connection parameters, click Verify.
If the parameters are valid, a Verification Success message is displayed.
Note:
Currently, Rubiscape supports nesting levels up to two for JSON objects. If your JSON file contains objects that have nesting beyond two levels, Rubiscape does not separate them into different columns. The fields after the 2nd level nesting are added into a single column.
The features in the JSON file are displayed in the Features box.
To change the variable type of the features, refer to Configuring Feature Type.
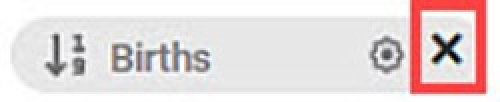
If you want to remove any of the features, hover over the feature name, and click the Close icon (
 ).
).
If required, you can select the encoding format of your JSON file from the Select Encoding drop-down. This is an optional step. The default selection is None. For the supported encodings, refer to File Encoding Formats.
If the JSON data files that contain multiple data blocks of different sizes, enable the ‘Max Level’ checkbox and enter the number of levels you want to expand to view nested data.
Click Create.
- Enabling the "Disable Cache" option allows you to create a dataset without generating a dataset cache.
- When you select to "Disable Cache", the dashboard will not offer the "Enable Direct Query" option. For more information, please refer to the "Enable Direct Query" document.
Related Articles
Column Lineage
Overview Column Lineage helps you understand how your data moves and transforms across your pipeline. This guide combines all lineage features—generation and visual tree display—into one simple explanation. 1. Lineage Generation (Pipeline) - Accessed ...Adding a Template
There are two types of Data Template that can be created. We can create a Data Template for a single thing and Gateway Data Template for multiple things. You can add a data template by Clicking Data Templates in the Manage dropdown (for the first ...MLOPS - Machine Learning Operations
Introduction: Why Rubiscape MLOps? Rubiscape MLOps provides an end-to-end environment for building, tracking, publishing, and serving machine learning models. It ensures experiment reproducibility, streamlined deployment, and centralized model ...Azure Blog Storage
Rubiscape provides you with an option to create a dataset using four options- Upload Excel (or CSV or JSON or Text) Files, S3, FTP, and Azure Blob Storage. Azure Blob Storage is basically a container that stores files. In Rubiscape, you can use Azure ...Features Used to Upload Datasets
Filename/Wildcard There are two ways to access the files present on the server. Star – Using '{}{*}' you can access all the files. For example, using *.xlsx, you can match all the datasets with this extension. Hence, all of these datasets will be ...