ODBC
Creating ODBC Dataset
To create any RDBMS or Non-RDBMS Dataset using ODBC, follow the steps 1 and 2 given in Creating SQL Dataset .
The following figure shows the Product Selection page.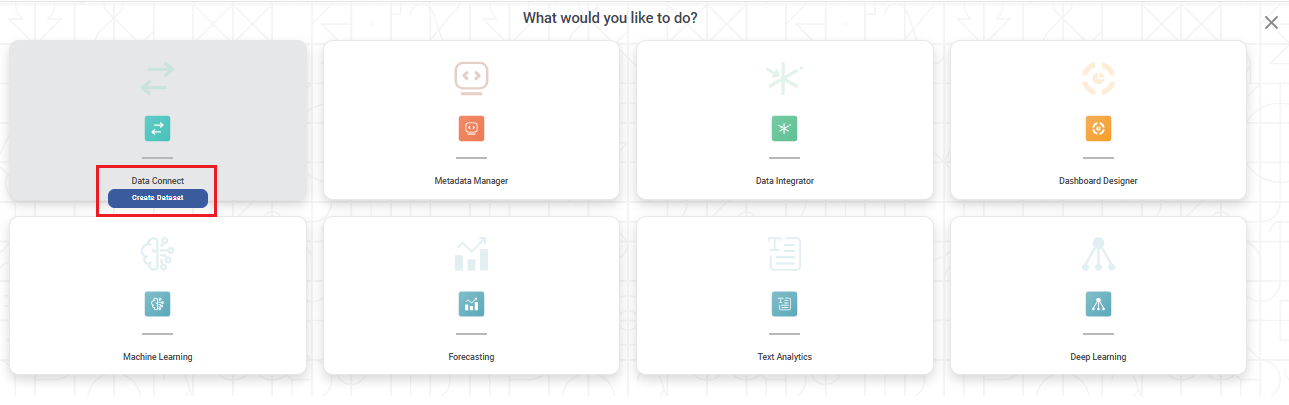
The Data Connect page for choosing your dataset type is displayed.
From the RDBMS options, select ODBC.
The following figure shows RDBMS options.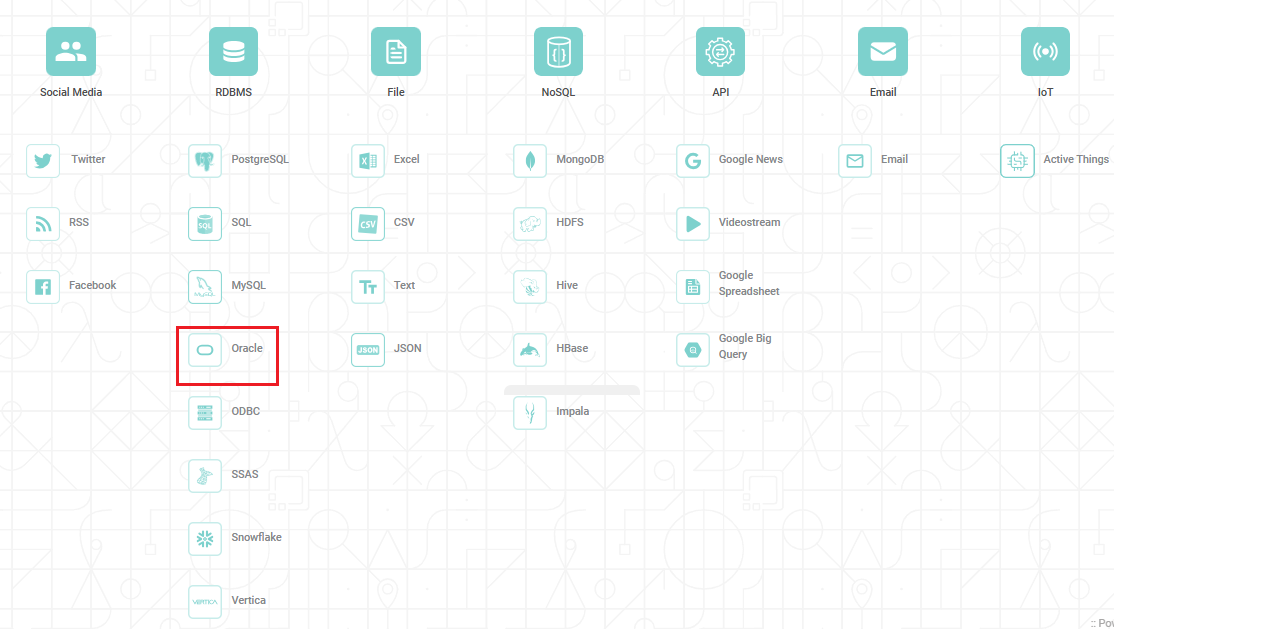
Create ODBC Dataset page is displayed.

Notes: |
|
- Enter a suitable Name for the Dataset.
- In the Connection Parameter section, enter the following details.
- Type (Select the dataset type from available options)
The Available options are: -- PostgreSQL
- SQL
- MySQL
- Oracle
- SAP HANA
- MongoDB
- Snowflake
- Vertica
- Host (IP address of the server where your database resides)
- Port (for the localhost on which the ODBC database service is available)
- Username (of the account authorized to access the database)
- Password (of the account)
- Database (name to access schema(s) and the table(s))
- Type (Select the dataset type from available options)
- Click Test Connection. The message "Database Connection Successful" is displayed in green if the parameters are accurate. After a successful connection, the Schema dropdown is populated with a list of available schemas.
- From the Schema dropdown, select the schema(s) that contains your table(s) and click Done. After selecting the schema(s), the Select Tables dropdown is populated with a list of all available tables in the schema(s).
- From the Select Tables dropdown, select the required tables and click Done.
- To add a custom query to select data from the tables, click Add Custom Query. Refer to Adding A Custom Query for details.
Click Create. The ODBC dataset is created in Rubiscape and is available for use in your workbooks and workflows.
Notes - For more information on MongoDB custom query, refer Query Your Data
- The default port is displayed in the Port field and auto-selected while creating the Dataset. You can change the port before making a connection.
- You can select multiple schemas from the available options in the Schema dropdown.
- You can select multiple tables from the available options in the Select Tables dropdown.
- The selection of schema is optional. If you do not select any schema, all tables in all the schemas are populated in the Select Table dropdown.
- After you enter the Database name, the Select Schema dropdown and Select Tables dropdown are populated with a list of all available schemas and tables respectively.
- Enabling the "Disable Cache" option allows you to create a dataset without generating a dataset cache.
- When you select to "Disable Cache", the dashboard will not offer the "Enable Direct Query" option. For more information, please refer to the "Enable Direct Query" document.
Related Articles
Error Message in RDBMS
The error messages are displayed in the following scenarios: Scenario 1: When you click Create button without entering any fields, you see the following errors: The error message for mandatory fields like Dataset name, Host name, and table name. ...Writing Data to the Template Table
You can store the result of algorithm flow or the Reader to a dataset table. Note: You can write to an RDBMS or ODBC (SQL, MySQL, PostgreSQL, or Oracle) datasets only. To write the output data to a template table, follow the steps given below. Build ...Sequence Generator
Sequence Generator is located under Model Studio ( ) in Data Preparation, in the task pane on the left. Use the drag-and-drop method (or double-click on the node) to use the algorithm in the canvas. Click the algorithm to view and select different ...Writing into Template Table
You can store the result of algorithm flow or the Reader to a dataset table. Note: You can write to an RDBMS or ODBC (SQL, MySQL, PostgreSQL, or Oracle) datasets only. To write the output data to a template table, follow the steps given below. Build ...RubiSQL
RubiSQL is a feature within Code Fusion that helps write code in SQL to modify the values in your database. It also allows you to delete values in your database. You can use the RubiSQL node as a stand-alone node or connect it to the Reader node ...