Refresh Cache
To enable auto-refreshing of the dashboard by scheduling workflow, follow the steps given below.
- On the home page, click the Create icon (
 ).
). - Hover over the Data Integrator tile and click the Create Workflow button.
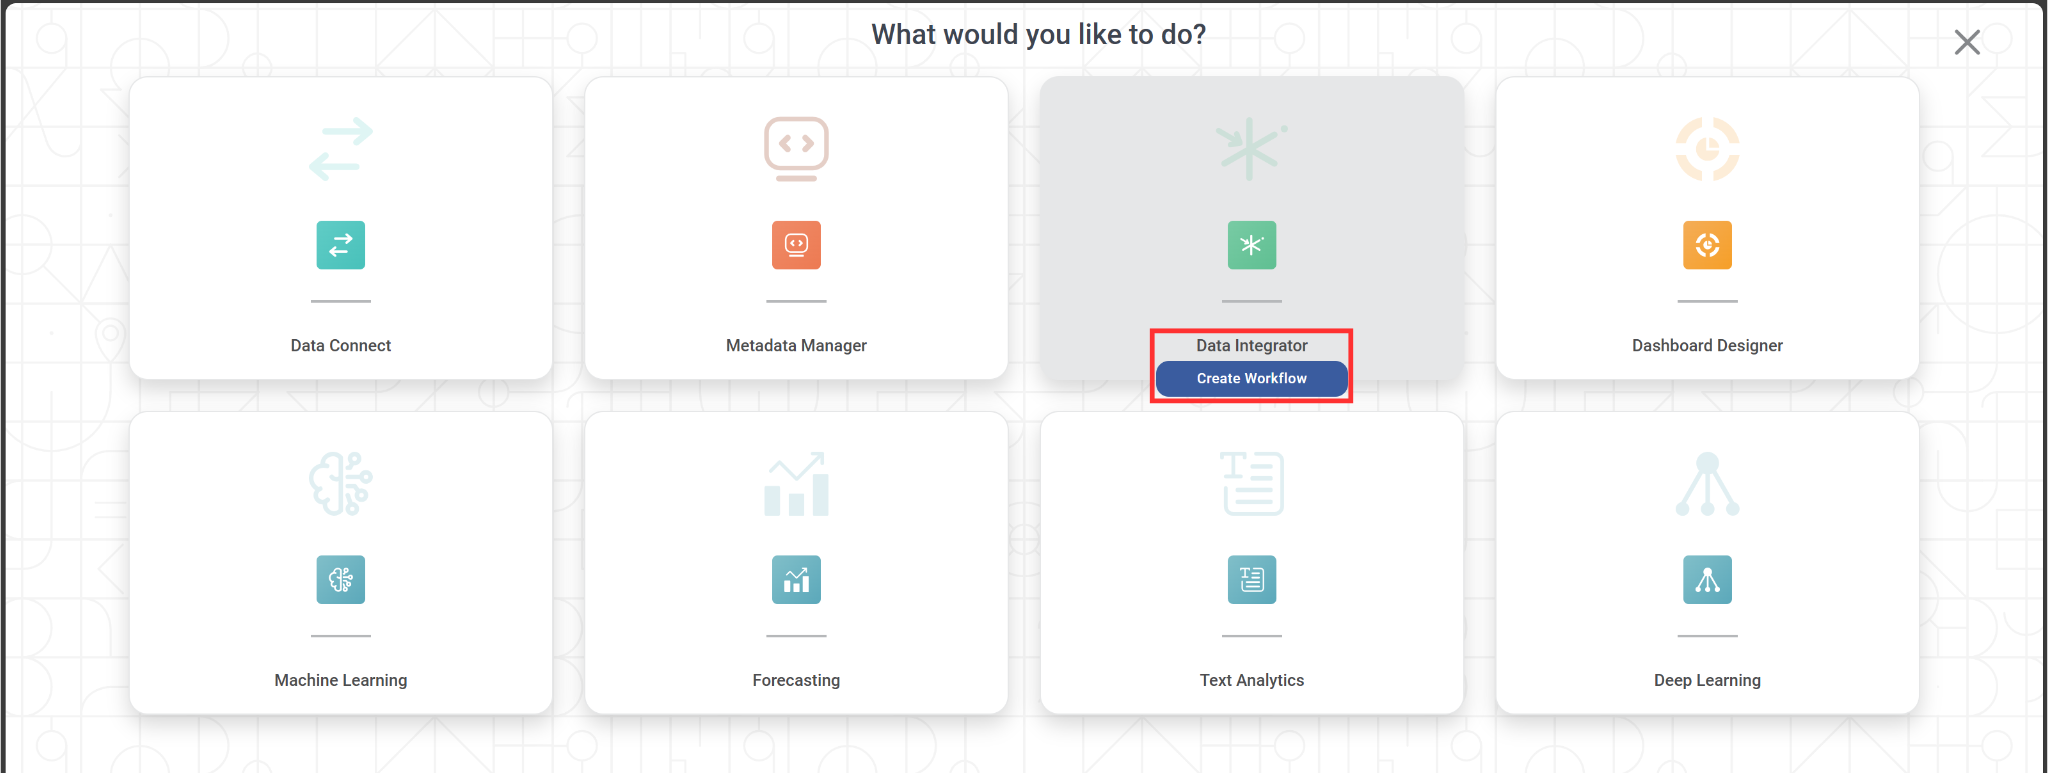
Create Workflow page is displayed. - Enter the Name for your workflow.
Enter the name in the Project field to create a new project.
 Notes:
- The workflow is created under the entered project name.
- You can also type the name of the existing project in the Project field to select the project.
- The project name is mandatory.
- Enter the Description for your workflow.
- Review all fields and click Create.
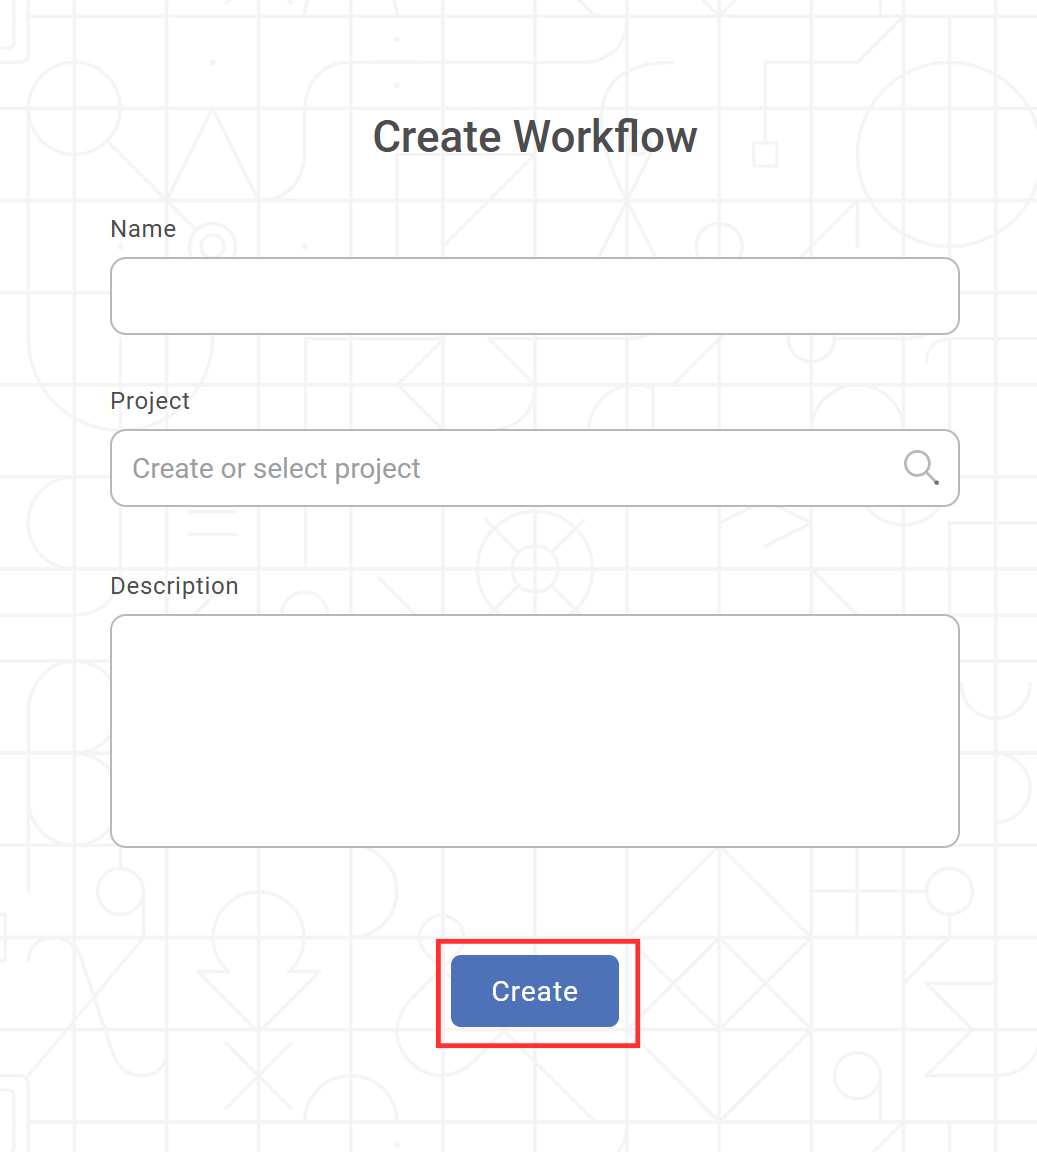
The workflow is created, and the workflow canvas is displayed. - Follow the path (Data Integration >> Control >> File >> Orchestration >> Refresh Cache) from the left Task Pane, drag and drop Refresh Cache on the workflow canvas.
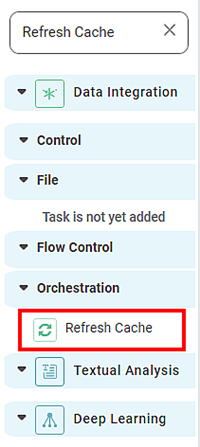
- Select the Refresh Cache node.
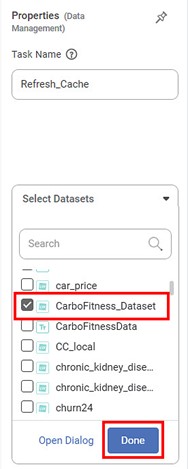
The properties pane is displayed on the right side. From the Select Datasets drop-down, select the datasets for which the cache needs to be refreshed.
 Note:
Note:You can select more than one dataset.
- After selecting the datasets, click Done.
- Hover over the Refresh Cache node and click the ellipsis, and then click Run.
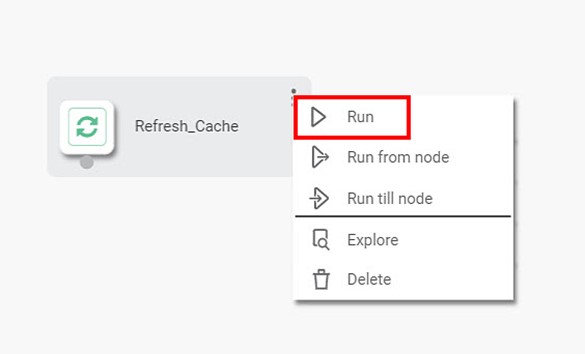
- Schedule this workflow. Refer to Scheduling a Workflow.
After the schedule is successfully created, the workflow executes at the specified time interval, and the dashboard is refreshed based on the latest data.
Notes: |
|