CSV
Creating CSV Dataset
Rubiscape supports CSV files (.csv) for dataset creation.
To create a CSV dataset, follow the steps given below.
On the home page, click Create icon .
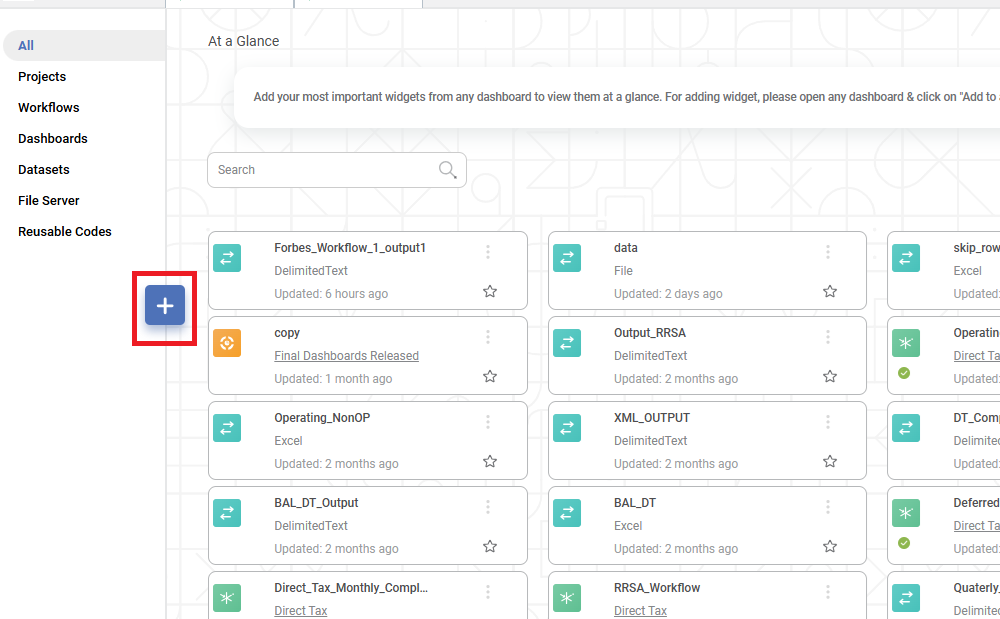
The Product Selection page is displayed.
Hover over the Data Connect tile and click Create Dataset.
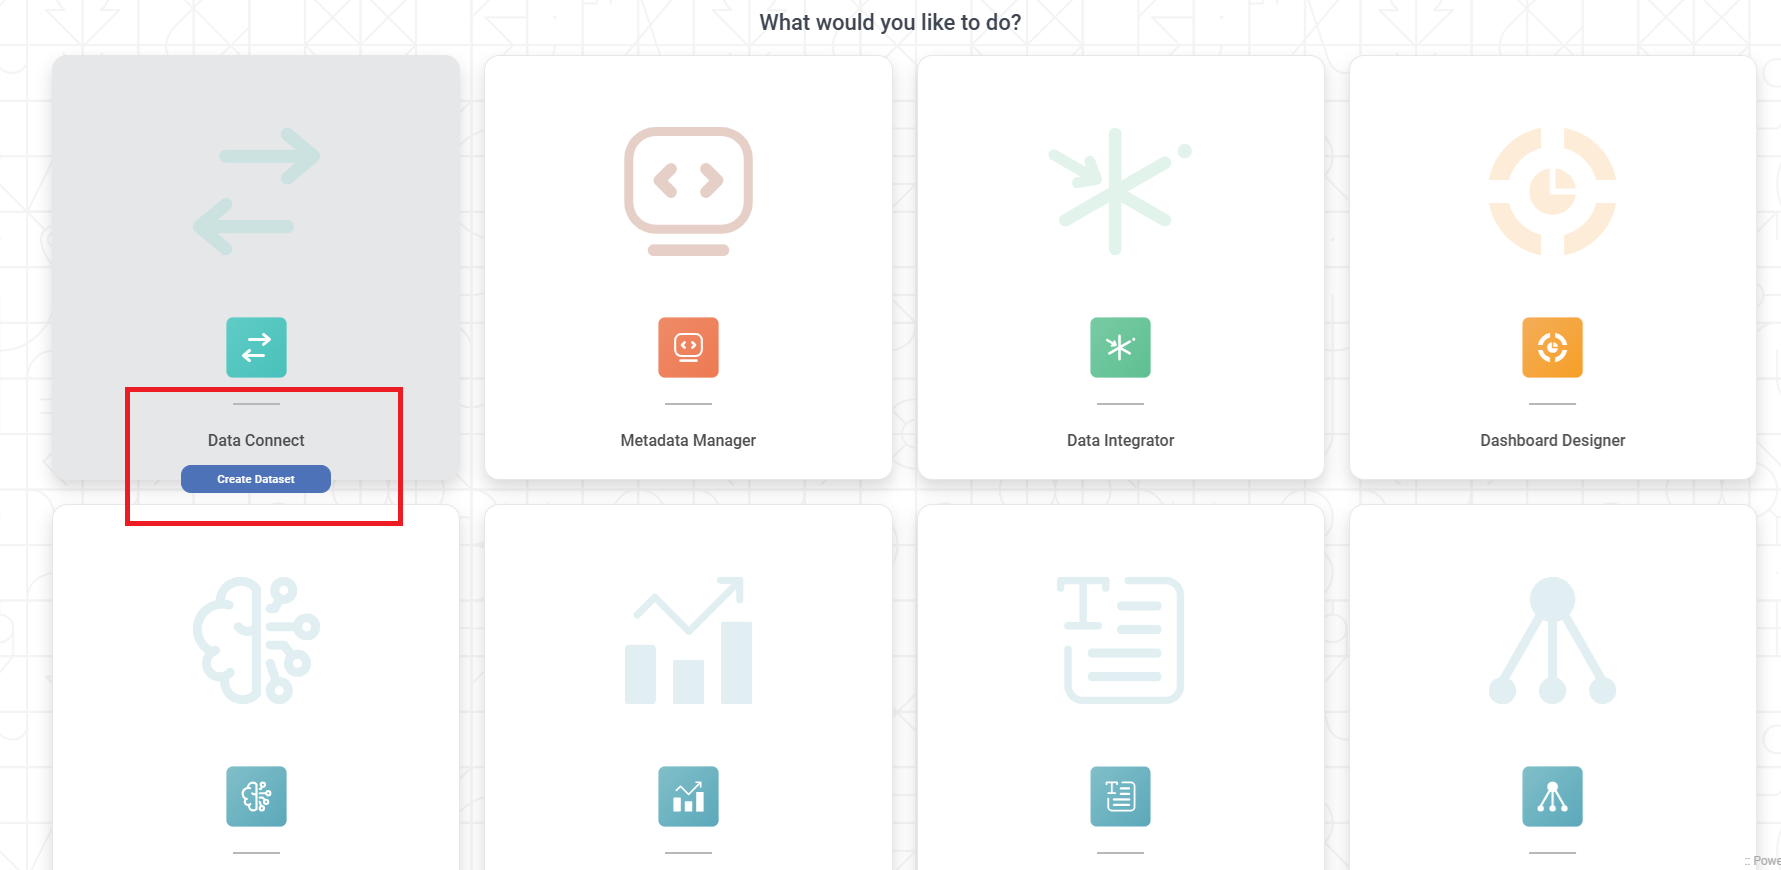
Dataset Selection page is displayed.
From the File options, select CSV.
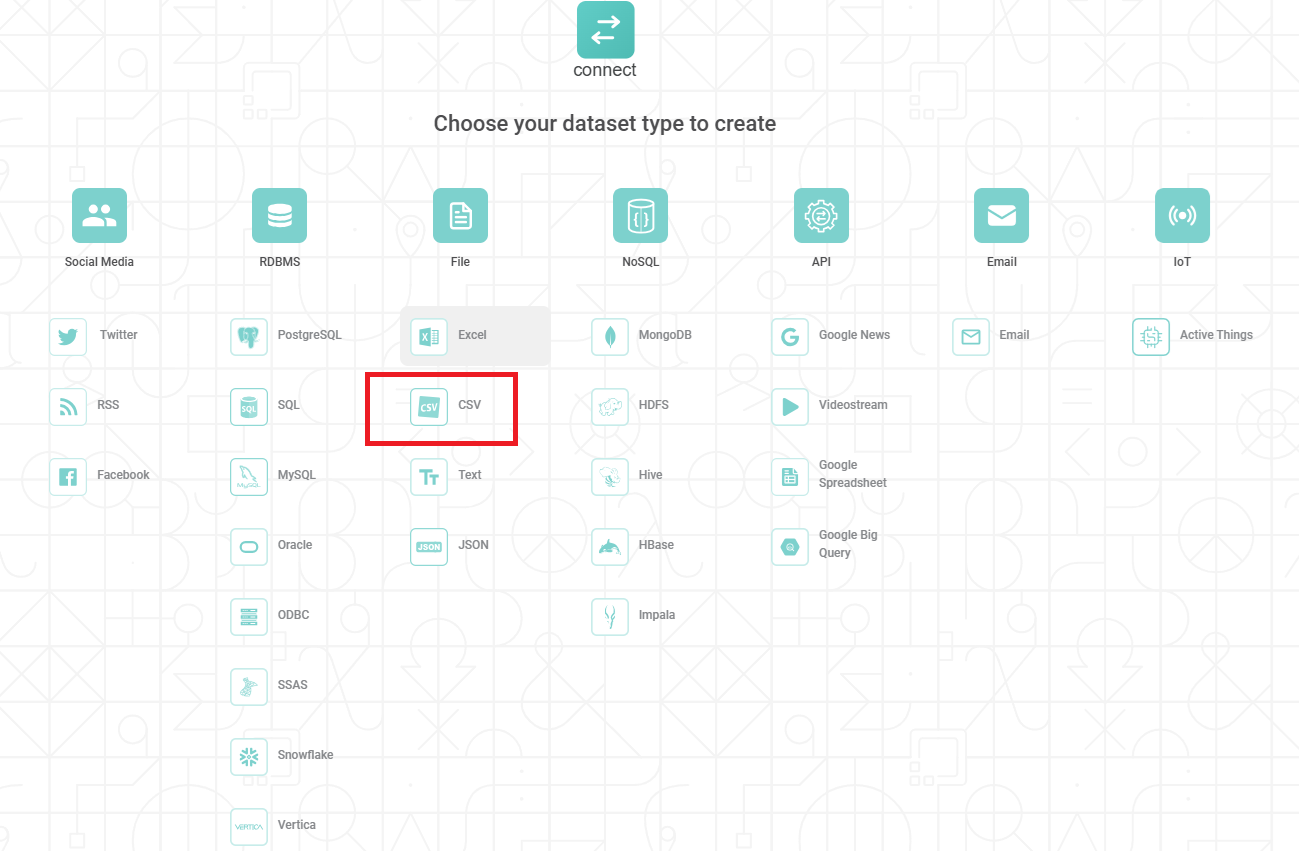
Create CSV Dataset page is displayed.
You can use a CSV file stored on your computer or from the AWS S3 storage network to create a CSV dataset.
The dataset creation for these types is explained in the sections below.
Creating CSV Dataset by Uploading CSV File
To create a CSV dataset by uploading a CSV file from your computer, follow the steps given below.
Follow steps 1 to 3 of Creating CSV Dataset.
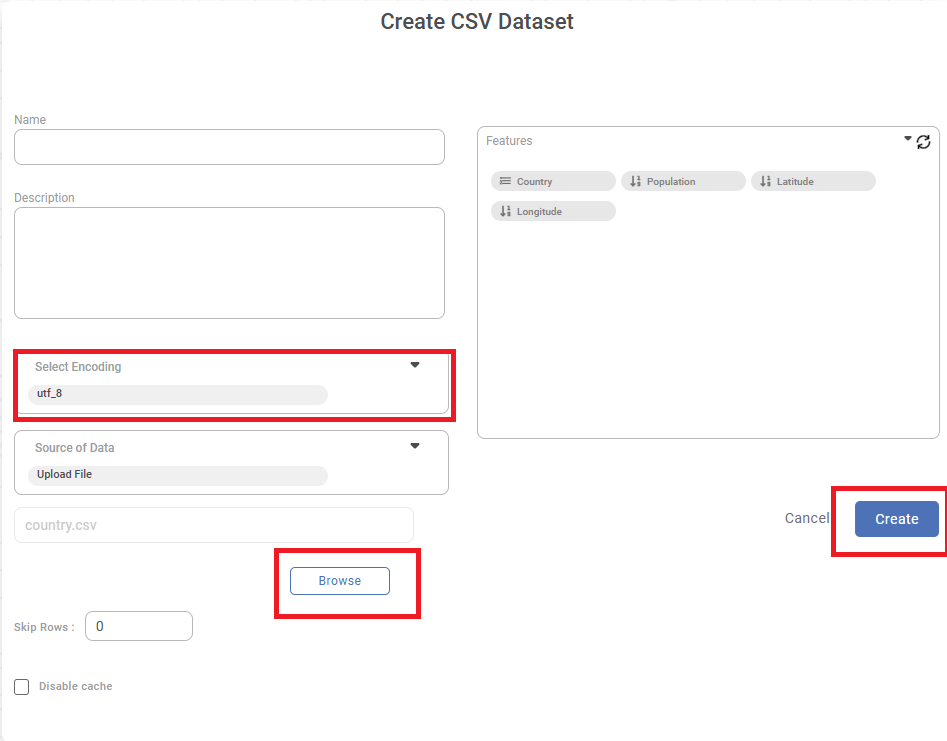
Enter Name and Description for your dataset.
- Click Select Encoding dropdown to select the desired encoding method. The default encoding method is utf_8.
Click Source of Data dropdown to select the desired source options. Available options are S3, FTP, Azure Blob Storage, File Path.
Click Browse. The File Browser window is displayed.
Browse to your file location and select a CSV file. The Features (columns) in the CSV worksheet are displayed in the Features box.
To change the datatype of the features, refer to Configuring Feature Type.
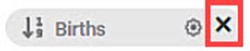
If you wish to remove any of the features, hover over the feature name, and click the Close icon

Click Create.
A confirmation message is displayed.
The CSV dataset is created in the current workspace and available in workbooks, workflows, and dashboards.
|
|
Creating CSV Dataset using S3 Bucket Storage
To create a CSV dataset by uploading a CSV file from the AWS S3 bucket storage, follow the steps given below.
Follow steps 1 to 3 of Creating CSV Dataset.
Enter Name and Description for your dataset.
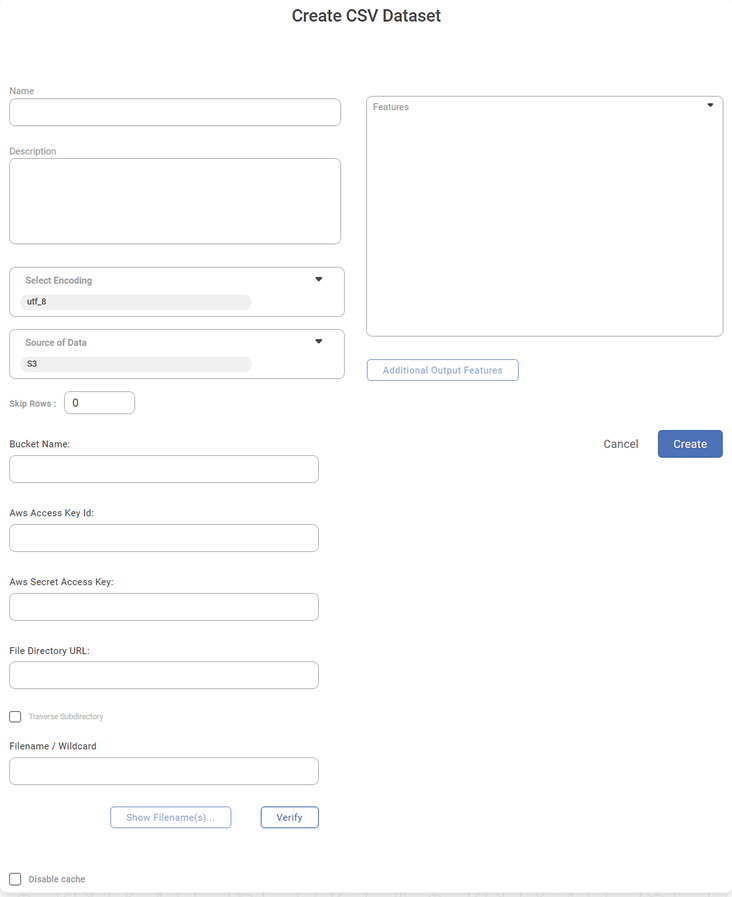
To upload a file from AWS storage, select the S3 option from Source of Data dropdown.
A new set of dataset creation options are displayed.Enter the following details for the cloud storage.
Bucket Name
Aws Access Key Id
Aws Secret Access Key
File Directory URL (for the folder created by you on the S3 browser)
Filename or Wildcard
Notes:By default, the number in the Skip Rows field is zero (0). You can enter an integer value in the field corresponding to the number of rows in the dataset you wish to delete.
For example, if you enter 15 in the Skip Rows field, the first 15 rows will be skipped/deleted while creating the dataset.
The administrator provides Aws Access Key Id and Aws Secret Access Key.
If a file is already present in the root directory, you can access the file from the folder using a slash (/) symbol.
If a folder is already present, you can give its path in the File Directory URL field.
The File Directory URL is for the folder created by you on the S3 browser. This folder contains the dataset files whose Filename/Wildcard is mentioned in the next field.
You can use special characters/symbols to search file names like an asterisk (*) and question mark (?).
An asterisk (*) symbol searches file names with multiple (any number) characters in the specified place.
For example, a filename with Data_*_* searches all file names containing multiple characters between the underscore marks and after the last underscore mark.
A question mark (?) is used to search file names with a single character in the specified place.
For example, a filename with Data_? _??? searches all file names containing one character between the underscore marks and three characters after the last underscore mark.
Hence, a filename with Data_??_* searches all file names containing two characters between the underscore marks and multiple characters after the last underscore mark.
You can search for the dataset files in all folders and sub-folders of the root directory by selecting the Traverse Subdirectory checkbox.
To validate the connection parameters, click Verify.
If the parameters are valid, a Verification Success message is displayed. Also, the Show Filename(s) button gets activated.
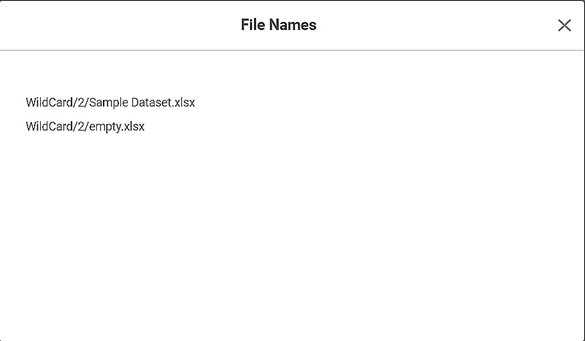
To see the files detected, click Show Filename(s).
The list of detected files is displayed in a separate window.
Also, the features (columns) in the CSV worksheet are displayed in the Features box.
To change the datatype of the features, refer to Configuring Feature Type.
If you wish to remove any of the features, hover over the feature name, and click the Close icon (
 ).
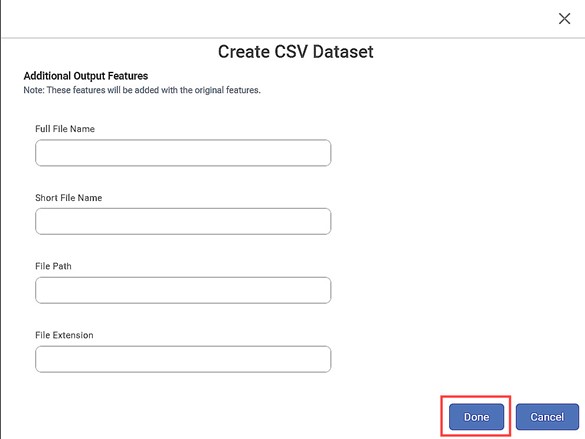
).To insert additional features (along with the features already present in the dataset), click Additional Output Features.
Create CSV Dataset window is displayed. It displays the following features, which can be inserted along with the existing ones.Full File Name
Short File Name
File Path
File Extension
Notes:The Additional Output Features are not selected by default.
You can choose anyone, multiple, or all of them to be inserted into the dataset.
Select the checkboxes corresponding to those features that you want to insert and click Done.
Click Create.
Notes:
Make sure to use a standard date format for datasets containing date as a variable.
In case the dataset contains geographical variables, the Map Locations page is displayed. Verify that all locations are mapped and click Done to create the dataset. Refer to Creating a Dataset with Geographical Variable Type.
Notes |
|
Related Articles
Adding a Template
There are two types of Data Template that can be created. We can create a Data Template for a single thing and Gateway Data Template for multiple things. You can add a data template by Clicking Data Templates in the Manage dropdown (for the first ...Exporting Chart and Chart Data
Exporting charts and data helps you store/save them in your device or on the cloud. You can then share or view the chart in PDF format and data in CSV format. Exporting Chart in PDF To export the chart, follow the steps given below. Create the number ...Editing a Dataset
After you add or import a dataset, you can edit it. For adding or importing a dataset, refer to Adding a Dataset or Importing a Dataset. In Editing Dataset, you can, Edit the name and description of the dataset Select, remove, or modify the features ...S3 Bucket Storage
In Rubiscape, you can use S3 Bucket Storage to create datasets by entering the following information: Bucket Name Aws Access Key Id Aws Secret Access Key File Directory URL Filename or Wildcard In case any of these values is entered incorrectly, an ...Features of AutoML Wizard
The Auto ML Wizard recommends the best fit model for a selected dataset, This recommendation is especially helpful if you do not know which algorithm to use for the selected dataset. Features: Auto-creation of a workbook Import, search or choose a ...