RubiNotebook
Writing Custom Code using RubiNotebook
To write your custom code using RubiNotebook, follow the steps given below.
- Create your algorithm flow. Refer to Building Algorithm Flow in a Workbook Canvas.
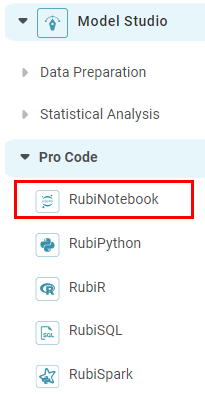
- Drag and drop RubiNotebook on your workbook canvas.
- Connect RubiNotebook to the required node in your algorithm flow.
- Select RubiNotebook and in the Properties pane, enter the jupyter URL and then click Configure
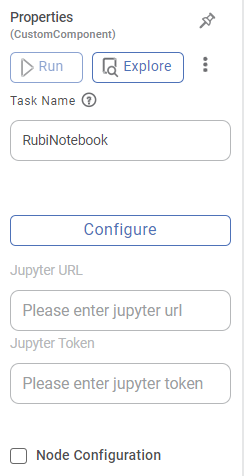
The RubiNotebook configuration page is displayed.
Note:
The features in the above table can be used while running the entire node only. These features cannot be used while running individual cells of the Python program in the RubiNotebook editor.
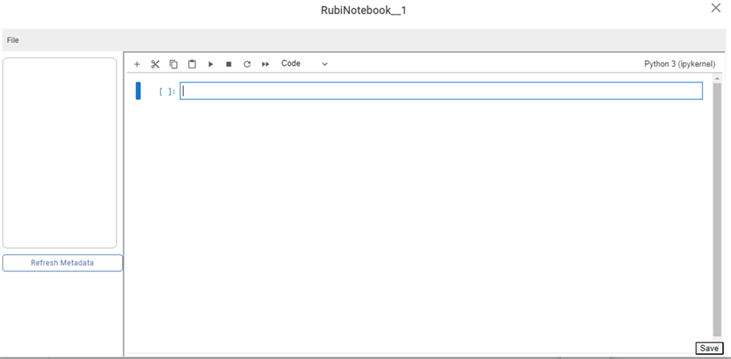
- Enter the Python code in the RubiNotebook code editor to perform various operations on the predecessor node.
The RubiNotebook code editor is shown in the figure given below. 
The fields/icons on the RubiNotebook code editor are described in the table below.
Field
Description
File
It allows you to download python file (.py), python notebook (.ipynb), html file (.html), upload files, objects and notebooks

It helps you to Insert a new cell below the selected cell.

It helps you to Cut the selected cell.

It helps you to Copy the selected cell.

It helps you to Paste the copied or cut cell into the selected cell.

It helps you to execute the Python program.

It helps you to interrupt the kernel. The kernel resumes work when you start the execution of the program again.

It helps you to restart the kernel when it is shut down.

It helps you to restart the kernel and re-run the notebook.
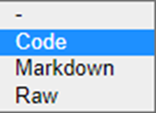
Code cells– it allows you to write and edit new codes.
Markdown- It allows you to format a text. It also documents the computational process in a literal way.
Raw cells – It provides a place where we can write output directly.
- Click Run to execute the code.
After successful execution, the output is displayed. After completing, click Close to close the RubiNotebook page and return to the workbook page.
Notes: |
|
Reading the Single Dataset Using the RubiNotebook
- Drag and drop the required dataset from the ‘Reader section’ in the Feature Studio.
- Run the dataset.
- Connect RubiNotebook to the dataset.
- Select RubiNotebook and in the Properties pane, enter the jupyter URL and then click Configure.
Consider the following code.
Code
Description
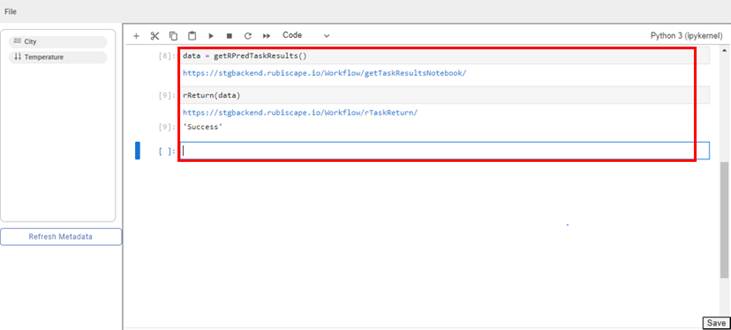
getRPredTaskResults()
It reads the data from the predecessor nodes.
rReturn()
It stores the metadata and results of RubiNotebook tasks (Current task).
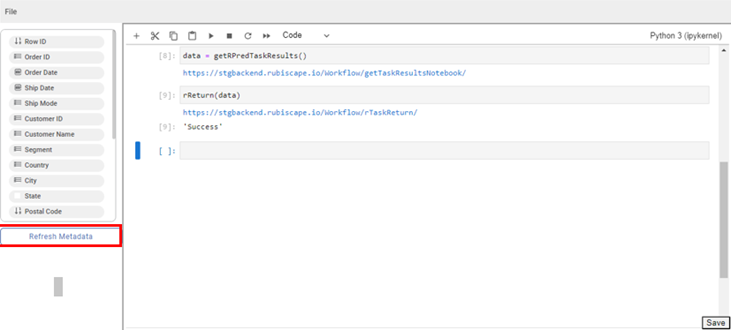
- On the left-hand side, it shows all the fields in the data.
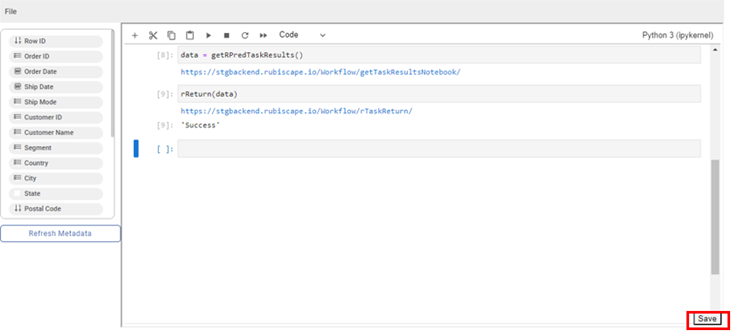
- Click on ‘Save’ to save the data.
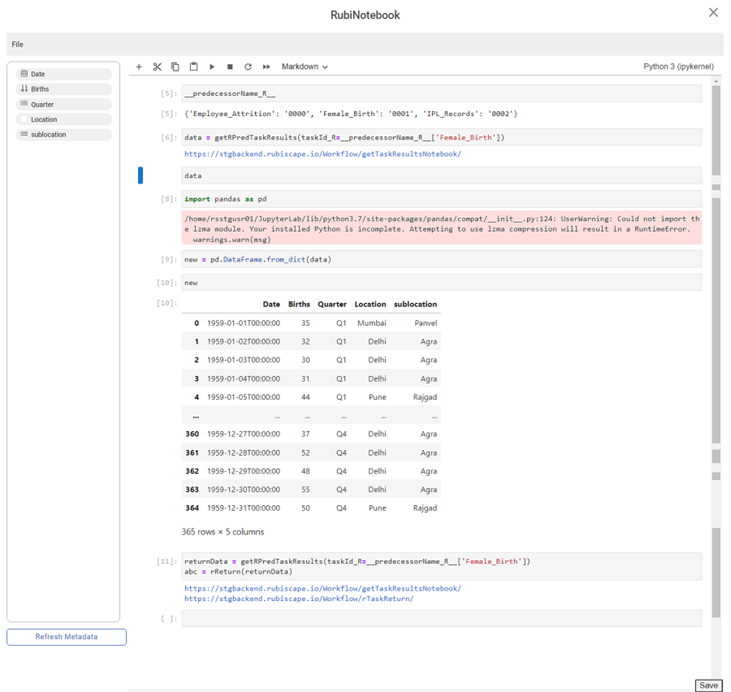
Reading Multiple Datasets using RubiNotebook
- Create a workbook. Refer to Creating a Workbook.
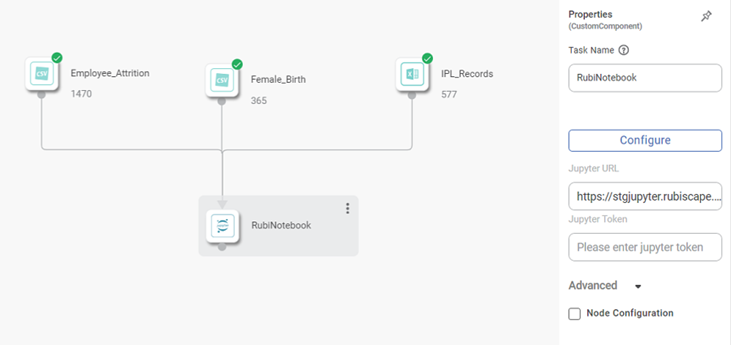
- Drag and drop the required datasets from the 'Reader section' in the Feature Studio. For example, we select the Employee Attrition, Female Birth, and IPL Records datasets.
- Run the datasets.
- Drag and drop the RubiNotebook from the 'Pro Code' section under the Model Studio in the Feature Studio.
- Select RubiNotebook and in the Properties pane, enter the Jupyter URL and then click Configure.
- Consider the following code
Code
Description
_predecessorName_R_
It displays the predecessor name connected to the RubiNotebook.
data = getRPredTaskResults(taskId_R=_predecessorName_R_['Female_Birth'])
Enter the task name to access the predecessor.
data
Prints the data as data dictionary.
import pandas as pd
Prompt to display the data in data frame
new = pd.DataFrame.from_dict(data)
We save the framed data as new.
new
Prints new result.
returnData = getRPredTaskResults(taskId_R=_predecessorName_R_['Female_Birth'])
]]></ac:plain-text-body></ac:structured-macro>
abc = rReturn(returnData)It stores the metadata and results of RubiNotebook tasks.
Shows all the available columns in the left side pane. Click on the Save button.
Notes- The RubiNotebook allows you to connect multiple datasets; only one can be accessed at a time.
- To Run the RubiNotebook, Save the workbook and explore the RubiNotebook node.
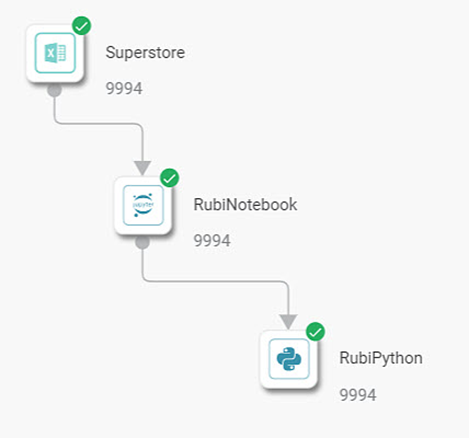
Attaching a Successor Node in RubiNotebook
You can use the output from the RubiNotebook for the successor tasks using functions.
The Figure below shows the RubiNotebook node and its successor, the RubiPython node.
The figure given below shows the data in RubiNotebook. It contains data about City and Temperature.
- For reading the dataset using the RubiNotebook please refer to Reading the dataset using the RubiNotebook
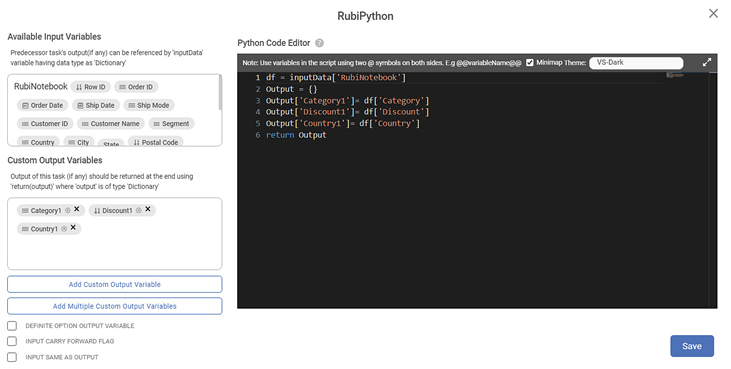
- Select the Rubipython node from the task pane.
- Click on Configure.
- Consider the following code snippet
Code | Description |
df = inputData[‘RubiNotebook’] | It access the data from RubiNotebook and stores in the df. |
Output | It creates an empty dictionary |
Output[‘Category1’]= df[‘Category’] | It maps the custom output to the column Category from RubiNotebook |
Output[‘Discount1’]= df[‘Discount’] | It maps the custom output to the column Discount from RubiNotebook |
| Output[‘Country1’]= df[‘Country’] | It maps the custom output to the column Country from RubiNotebook |
return | It returns the output |
Related Articles
RubiNotebook
Writing Custom Code using RubiNotebook To write your custom code using RubiNotebook, follow the steps given below. Create your algorithm flow. Refer to Building Algorithm Flow in a Workbook Canvas. Drag and drop RubiNotebook on your workbook canvas. ...PCA – Principal Component Analysis
Overview Principal Component Analysis (PCA) reduces high‑dimensional data into fewer components while retaining most variance. It helps simplify data, remove noise, and prepare it for further modeling. Where to Find PCA Pipeline → Model Studio → Data ...Working with File Server
Understanding File Server Pane The File Server allows you upload files/ and folders on Rubiscape cloud storage for the current workspace. You can upload files of all formats and use them while creating a dataset or working with RubiNotebook or ...Rubiscape File Server
The Rubiscape File Server lets you upload files/folders on cloud storage for the current workspace. You can use these files while creating a dataset or working with RubiNotebook or RubiPython. Rubiscape provides you six options to select the source ...Custom Functions in RubiPython
Reading Data from File A sample Python code to read data from file is shown in the image below. The table below explains the above code snippet. Line of Code Result getReaderData(“datasetName”,“subdatasetName”) This custom function checks the type of ...