Data Merge
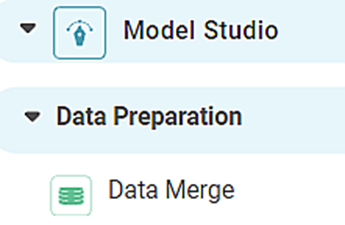
Data Merge is located under Model Studio ( .png) ) in Data Preparation, in the task pane on the left. Use drag-and-drop method to use the algorithm in the canvas. Click the algorithm to view and select different properties for analysis.
) in Data Preparation, in the task pane on the left. Use drag-and-drop method to use the algorithm in the canvas. Click the algorithm to view and select different properties for analysis.
Properties of Data Merge
The available properties of Data Merge are as shown in the figure given below.
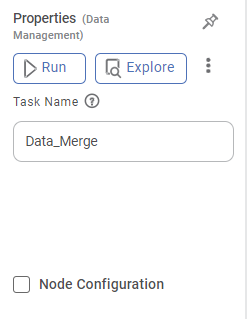
In the above figure, the Task Name 'Data Merge' appears by default. You can click in the text box to edit or modify the name of the task as required.
The table given below describes the different fields present on the Properties pane of Data Joiner.
Field | Description | Remark | |
| Run | It allows you to run the node. | - | |
| Explore | It allows you to explore the successfully executed node. | - | |
| Vertical Ellipse | The available options are
| - | |
| Task Name | It displays the name of the selected task. | You can click the text field to edit or modify the name of the task as required. | |
Example of Data Merge
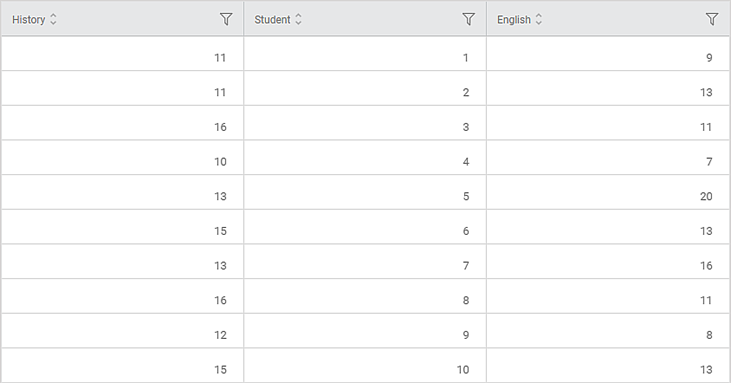
In the example, the data obtained from school test results for four subjects is used. Table 1 and Table 2 are the two tables to be merged together.
The figure given below display the input data from Table 1.
 The figure given below displays the input data from Table 2.
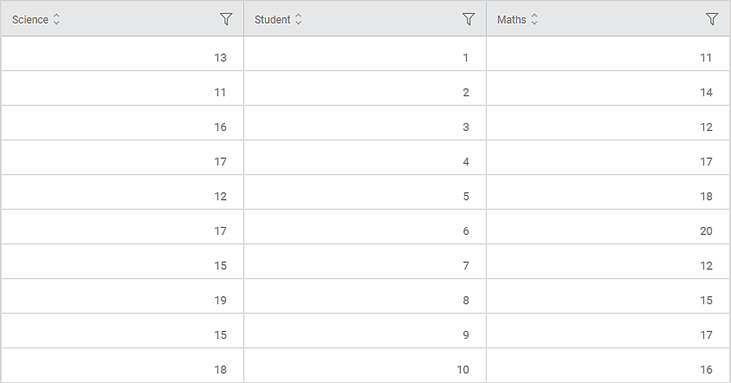 The Data Merge is applied to the two tables. The figure given below displays the output data obtained after merging. The table contains all the rows corresponding to the two input tables. The cells of no data are marked as 'na'.